Canada Day Quilt...the start of string piecing
I started with a tub of red scraps along with the bits of fabric left from the half square triangles.
Bonnie Hunter gives some size suggestions for the paper foundations in the pattern. I made mine slightly smaller because I didn't want to waste fabric! My guideline for string foundations has always been 1/8" bigger than the size you need to trim. If this is your first string piecing, use Bonnie's guidelines.
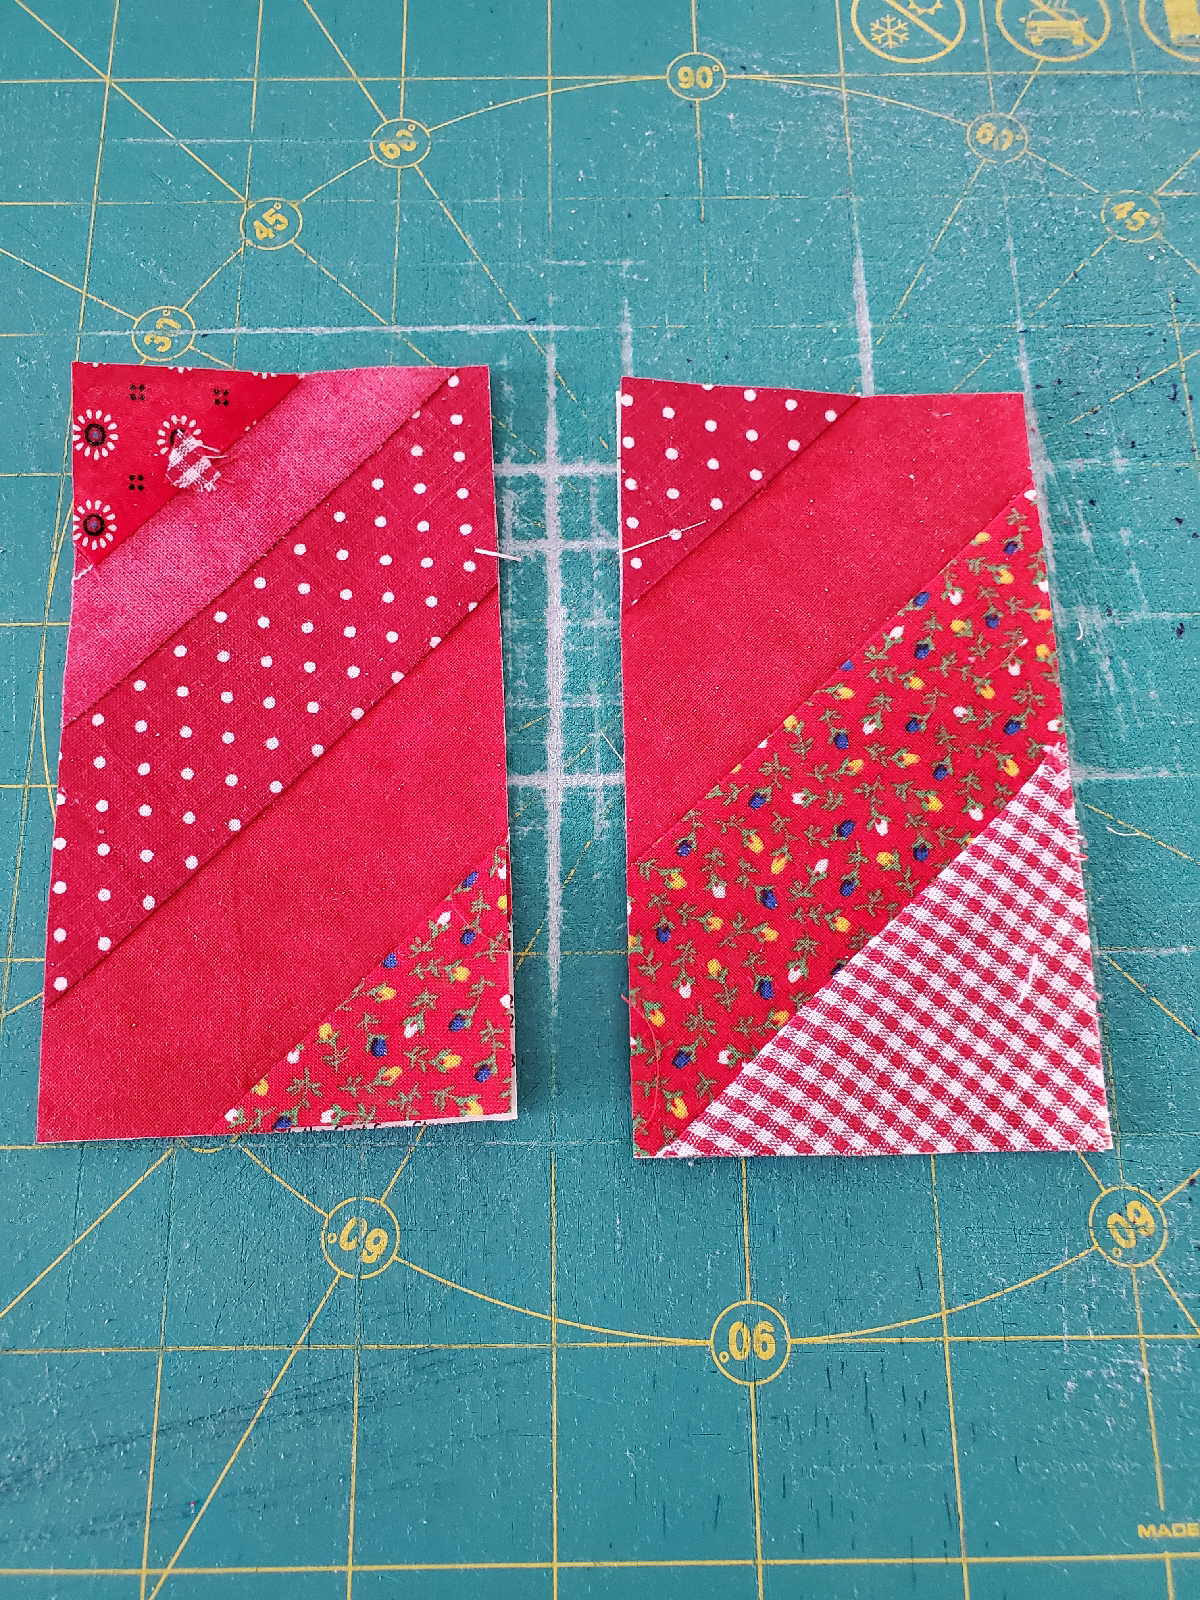
For the rectangles, which are subcut from the larger pieces after the sewing, you have to be careful that half tilt left and half tilt right.
If you follow my paper cutting guidelines rather than Bonnie's, your starting paper foundation is not actually a square. In order to insure that you get the tilting correct, I suggest that you mark lines tilting to the left on half, and lines tilting to the left on the other half. If you start with squares you won't need to do this, but you will need to orient properly before you cut into rectangles.
When you start sewing, place your first piece of fabric right side up covering the line you drew and both corners. Then put a second piece of fabric right side down over that one, lining up at one edge, which will be the edge you sew.
Note that the second piece of fabric can be shorter than the first piece. After you sew you will fold the fabric back and iron (no steam...you don't want your paper to get wet). That second piece only needs to be long enough to cover the paper. Don't forget to shorten your stitch length!
I generally do several at a time. If this is your first time paper piecing, do one!
After you have ironed, pull another piece of fabric and layer right side down atop one of the first two...it doesn't matter which. Keep doing this until the entire paper has been covered. You can use some pretty small scraps for the outside edges.
I try not to repeat the same fabric in string pieced blocks this small, although it is only personal preference. You do what you like! When I was part way through this group of blocks I realized at least one block had a repeat in fabric!
Keep sewing and ironing until your paper is covered.
Now for the trimming. Turn your blocks over and use your paper foundations as your guide.
Trim to the size the pattern tells you.
Don't throw away your scraps! Use your seam ripper to pull the pieces apart, and use them wherever you can on the next set.
Please ignore the state of my rotary mat! See you again in a few days!


Comments
Post a Comment